

How Do You Select An Object In Photoshop
How to employ the Object Selection Tool in Photoshop CC 2020
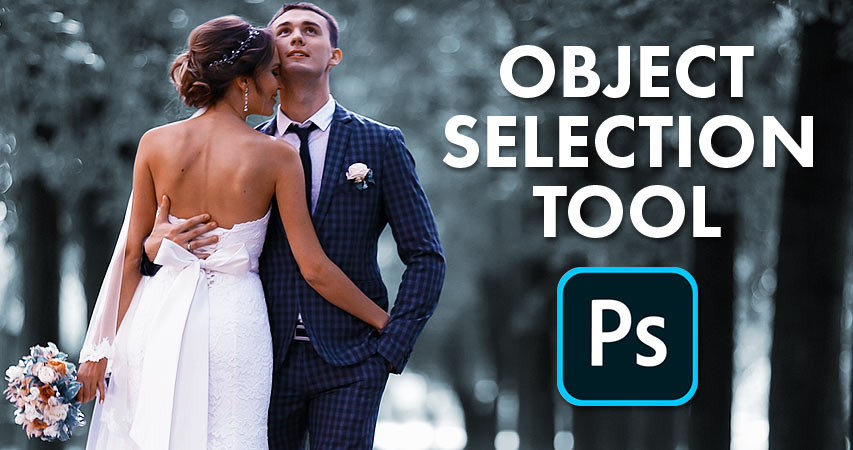
E'er wish you could select people or objects in your photos just by dragging around them? Now you tin with the brand new Object Selection Tool in Photoshop CC 2020!
Version Note: This tutorial is for Photoshop 2020 and 2021. Photoshop 2022 users will want to read my updated Using the Object Choice Tool and Object Finder in Photoshop 2022 tutorial
In this tutorial, I show you how to use the new Object Selection Tool in Photoshop CC 2020 to apace select people, animals or other objects in your photos! Unlike Photoshop's Select Subject control which looks at the unabridged image and tries to identify the subject automatically, the Object Selection Tool lets you identify the subject yourself just by drawing a rough selection around it. Once y'all've drawn a quick option, Photoshop automatically shrink-wraps the pick to the edges of your subject. And if the initial pick isn't perfect, y'all can easily add or decrease areas, over again simply by dragging around them. Let's see how information technology works.
The Object Selection Tool is make new as of Photoshop CC 2020. So to follow along, brand sure that your copy of Photoshop CC is upwards to date.
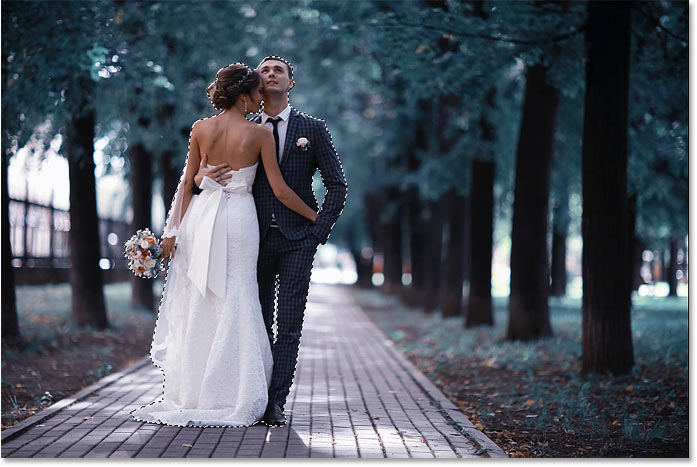
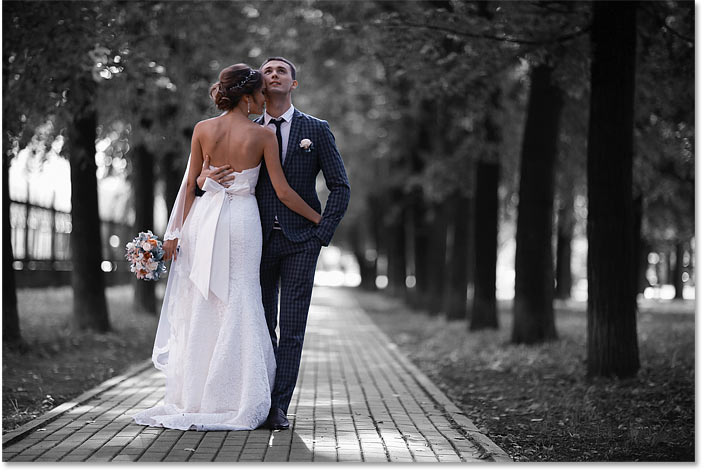
For this tutorial, I'll be using this image that I downloaded from Adobe Stock. I'll use the Object Selection Tool to select the wedding couple in the foreground. And then in one case the couple is selected, I'll show you a quick mode to get out your subject field in color and turn the rest of the photo to blackness and white:
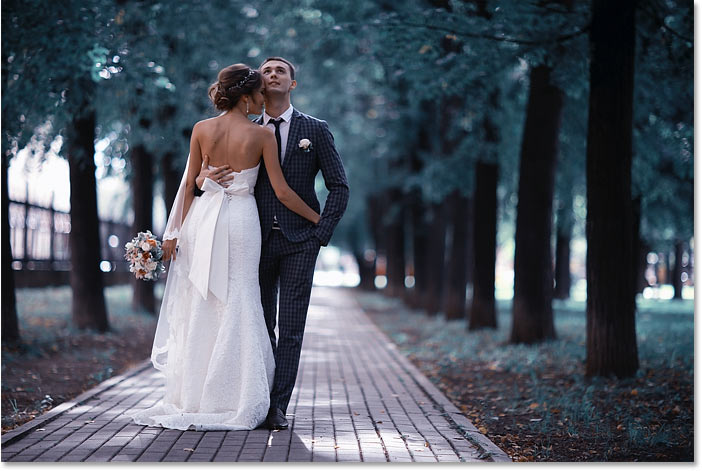
The original image. Photo credit: Adobe Stock.
Let's get started!
Where exercise I discover the Object Selection Tool?
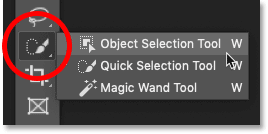
In Photoshop CC 2020, the Object Selection Tool is constitute in the toolbar, nested in with the Quick Selection Tool and the Magic Wand Tool. It has a keyboard shortcut of Westward:
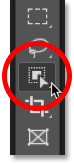
The Object Selection Tool in the toolbar.
If one of the other tools in that slot was previously active, click and hold on the tool's icon until a fly-out menu appears, and then choose the Object Selection Tool from the carte:
Selecting the Object Option Tool from the carte du jour.
Related: How to customize the toolbar in Photoshop CC
The Object Selection Tool options
Let's take a quick wait at a few of import options for the Object Selection Tool in the Options Bar. Note that these options demand to exist set before cartoon your selection, since they only employ to the next selection you make.
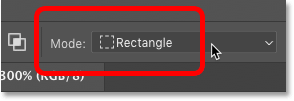
Mode
There are two selection types that we can draw with the Object Choice Tool—Rectangle and Lasso— and we switch between them using the Mode option. Rectangle is the default style, and information technology lets y'all depict a simple rectangular box, only like you could with the Rectangular Marquee Tool. And Lasso works similar the Lasso Tool, letting you depict a freeform choice around the object:

Cull a pick type (Rectangle or Lasso) from the Mode option.
Tip! How to use the Polygonal Lasso with the Object Selection Tool
Here'south a hidden trick to utilize with the Object Selection Tool. When drawing your initial choice with the Mode set to Lasso, yous can switch to the Polygonal Lasso Tool by pressing and property the Alt (Win) / Pick (Mac) key on your keyboard. The Polygonal Lasso Tool lets you but click around the object to select it. Release the Alt (Win) / Option (Mac) key when yous're done to consummate the selection.
Sample All Layers
By default, the Object Selection Tool looks for objects only on the active layer. Simply if you want your option to be based on a composite of all layers in your document, and so plow on Sample All Layers. In most cases, you'll want to go out information technology off:

The Sample All Layers choice (off past default).
Auto-Raise
Car-Heighten adds a slight amount of smoothing to the edges of your option. The difference with Machine-Raise on or off is minimal, so it'southward usually fine to leave it off:
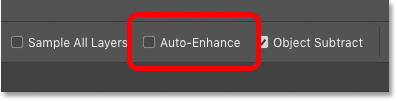
The Automobile-Enhance option (off by default).
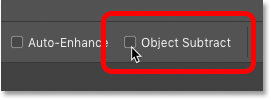
Object Subtract
The Object Decrease selection allows Photoshop to utilize its avant-garde Object Option technology when subtracting unwanted areas from the initial selection. When Object Subtract is turned off, the Object Selection Tool behaves merely like the standard Rectangular Marquee or Lasso Tool and just removes whatsoever pixels you manually drag around. Object Subtract should almost ever be left on.
We'll look more closely at the Object Decrease choice a bit afterward in this tutorial:

The Object Subtract option (on by default).
How to select objects with the Object Selection Tool
The mode the Object Pick Tool works is that we draw a selection outline effectually the general expanse where the object appears. Photoshop and then looks inside the boundaries of that choice to observe the object, and it wraps the selection outline around information technology. One time the initial selection is in identify, we can add missing areas to the pick, or subtract areas from the option, again just past dragging around them with the Object Selection Tool.
Step 1: Describe an initial option effectually the object
Starting time by drawing your initial selection. The default Rectangle mode usually works best. I'll draw a rectangular option effectually the wedding ceremony couple. Try to stay adequately close to the object while still keeping information technology entirely inside the selection boundaries:
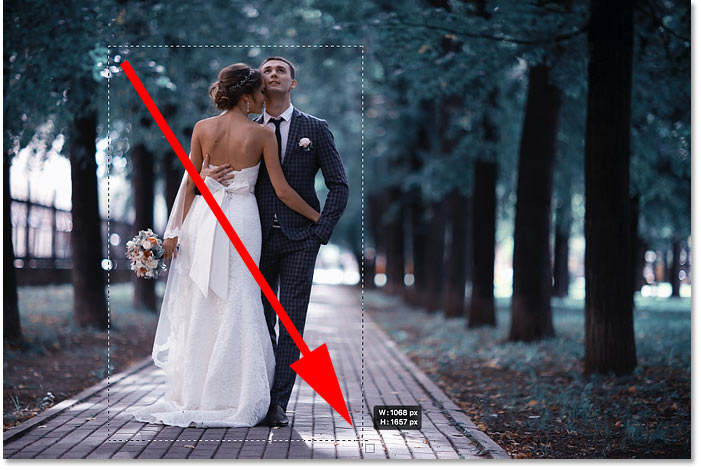
Cartoon an initial rectangular choice around my subject field(s).
Tip! How to move the selection outline every bit you depict information technology
If you lot started your selection outline in the wrong spot, keep your mouse push held down and press and hold the spacebar on your keyboard. Drag your mouse to move the selection outline into identify, and and then release your spacebar to continue drawing the rest of the selection.
The initial upshot
Once you have surrounded the object with your selection outline, release your mouse button. Photoshop analyzes the surface area within the selection, and subsequently a few seconds, it shrink-wraps the outline around the object:
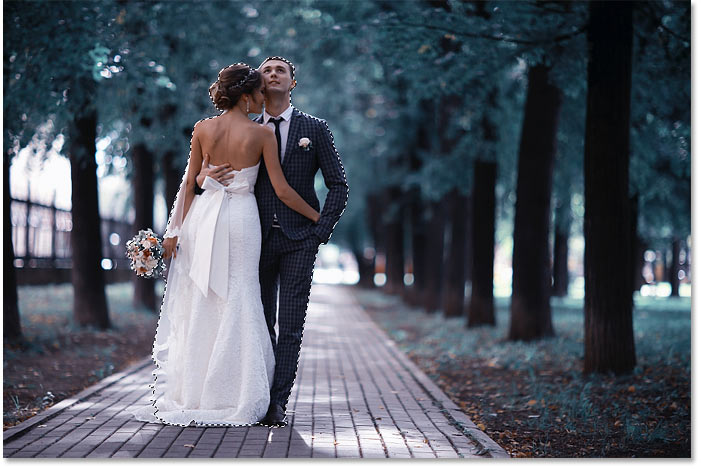
Photoshop was able to isolate the couple from the background.
Step 2: Look for problems with the selection
While the initial results are often impressive, they're commonly not perfect. You'll want to zoom in and scroll around the object looking for issues with the selection.
For instance, hither nosotros see that Photoshop did a pretty bad job of selecting the flowers in the boutonniere:
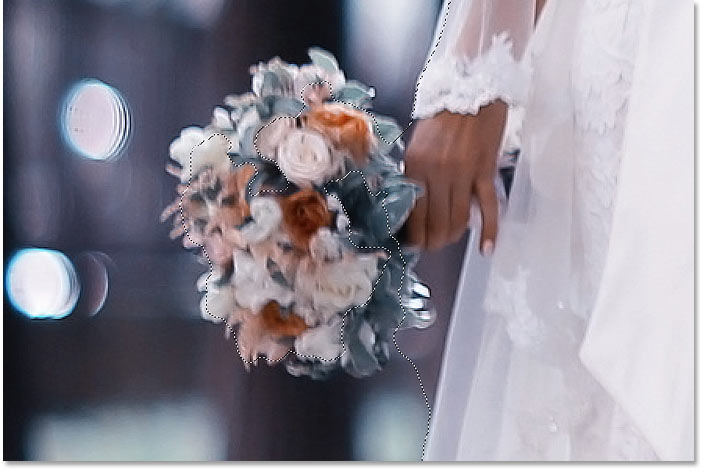
Photoshop missed most of the flowers.
Step iii: Concord Shift and drag to add to the pick
To add a missing office of the object to your selection, press and hold your Shift cardinal and drag some other choice outline effectually information technology:
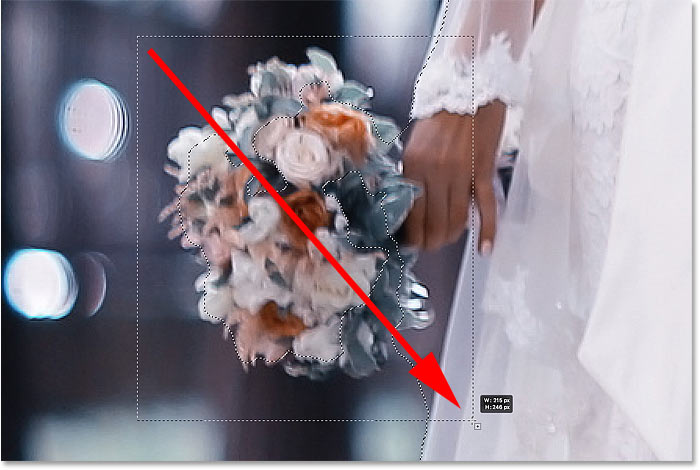
Property Shift and dragging a rectangular selection effectually the boutonniere.
Photoshop again analyzes the expanse within the pick boundaries, and just like that, the missing office is added:
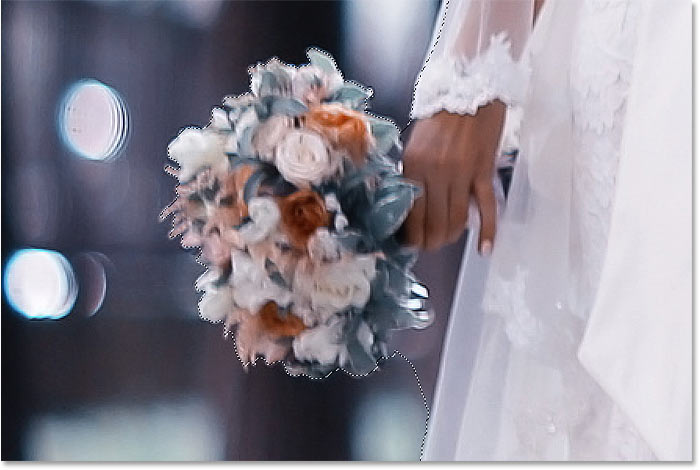
The bouquet has been added to the chief selection.
Step 4: Hold Alt (Win) / Selection (Mac) and drag to subtract from the selection
To remove, or subtract, an unwanted area from the choice, press and hold the Alt (Win) / Option (Mac) primal on your keyboard and elevate around information technology.
With my image, notice that the area between the bouquet and the apparel is also selected and needs to be removed:
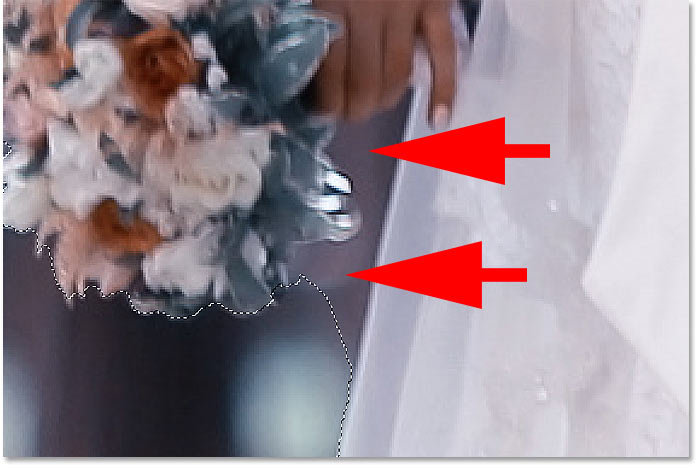
An expanse that needs to exist subtracted from the selection.
Irresolute the tool way from Rectangle to Lasso
Since this area is on a flake of an bending, I'll change the Mode option in the Options Bar from Rectangle to Lasso:
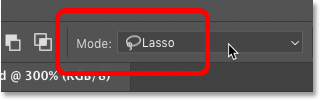
Setting the Way to Lasso.
Drawing a choice around the surface area
Lasso mode lets us draw freeform selections with the Object Selection Tool. I'll hold my Alt (Win) / Option (Mac) key and I'll describe around the area that needs to be subtracted. Find that I'g not drawing a precise selection. I'm simply drawing effectually and outside the full general expanse:
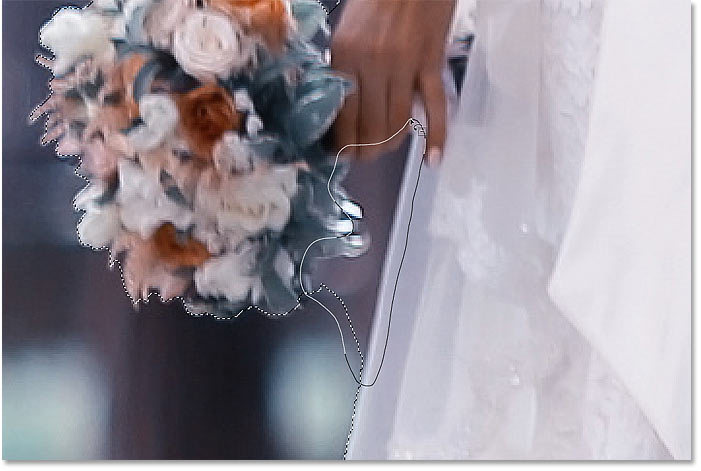
Surrounding the area that needs to be subtracted from the selection.
Release your mouse push, and the unwanted area is removed:
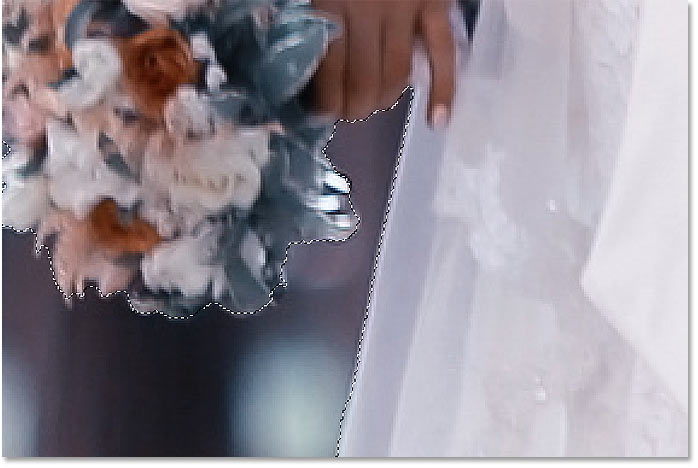
The Object Option tool was able to subtract the area from the selection.
What does the Object Subtract option practise?
Before when nosotros looked at the Object Option Tool'southward options in the Options Bar, I mentioned that Object Subtract should usually be left on. Permit's take a quick wait at exactly what the Object Subtract pick does.
Here'due south another problem area with my image. The space between the side of the man's accommodate jacket and his arm needs to be subtracted from the selection:
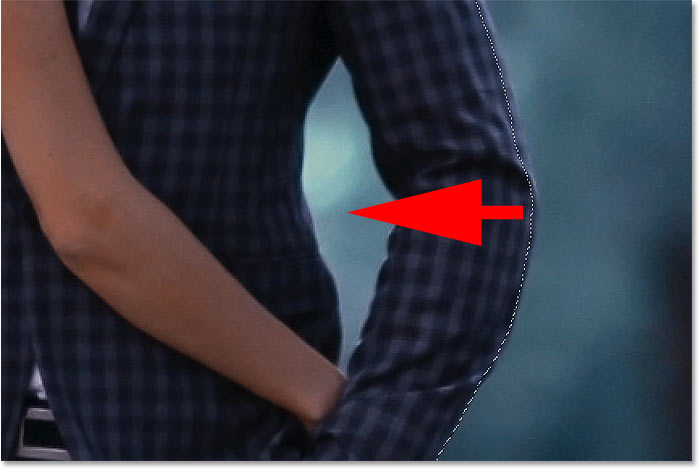
Another surface area that needs to exist subtracted from the selection.
Since this area looks like it tin can easily fit inside a rectangular box, I'll switch the Way option in the Options Bar from Lasso dorsum to Rectangle:
Setting the tool mode to "Rectangle".
Removing an area with Object Subtract off
I'll turn Object Subtract off:
Turning off "Object Decrease" in the Options Bar.
And then to decrease from the selection, I'll printing and agree Alt (Win) / Option (Mac) and I'll drag out a rectangular option outline effectually it:
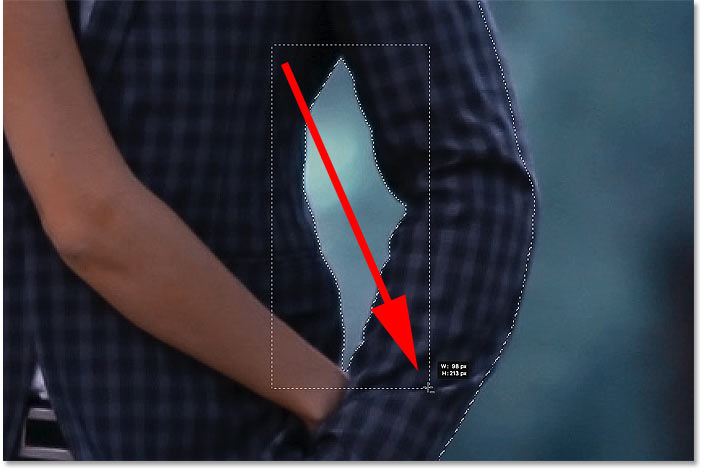
Subtracting the area with "Object Decrease" turned off.
But notice that instead of subtracting just the empty expanse in the middle, Photoshop subtracted everything within the selection. That's considering turning Object Subtract off disables the avant-garde technology that the Object Selection Tool uses to clarify the paradigm. Instead, it behaves like the standard Rectangular Marquee or Lasso Tool and but subtracts everything you drag effectually.
The entire area was removed with "Object Subtract" turned off.
How to undo a step with the Object Selection Tool
I'll undo my last step by going upwards to the Edit carte du jour in the Card Bar and choosing Undo Object Selection. Or I could printing Ctrl+Z (Win) / Command+Z (Mac) on my keyboard. Photoshop gives u.s.a. multiple undos with the Object Selection Tool, so you can press Ctrl+Z (Win) / Command+Z (Mac) repeatedly to disengage multiple steps:
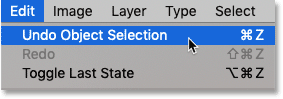
Going to Edit > Undo Object Selection.
Removing an area with Object Decrease on
This time, I'll plow Object Decrease on:
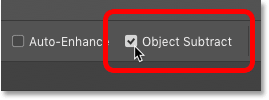
Turning on "Object Subtract".
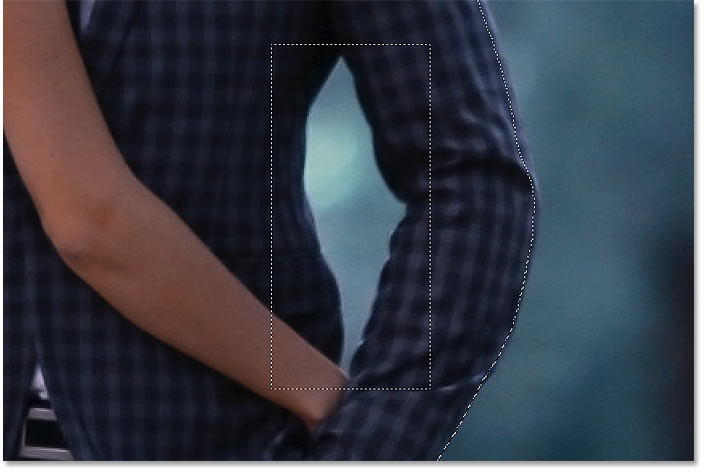
So I'll over again hold Alt (Win) / Choice (Mac) as I draw the same rectangular selection outline around the area:
Subtracting the area with "Object Decrease" turned on.
And with Object Decrease turned on, Photoshop is able to analyze the area within the selection, effigy out which part of the option needs to be removed, and subtracts just the area in the center:

The result with "Object Decrease" turned on.
When should I turn Object Subtract off?
If you're trying to subtract an expanse and the Object Selection Tool is having too much problem, turn Object Subtract off to manually (and advisedly) select the area yourself. Otherwise, leave Object Decrease turned on for the all-time results.
Switching between "Add together" and "Decrease" modes
When using the Object Option Tool, you'll oft demand to switch back and along betwixt "Add" and "Subtract" mode in order to fine-tune a selection expanse.
For example, here nosotros see some empty space betwixt the couple that needs to exist subtracted from the selection:
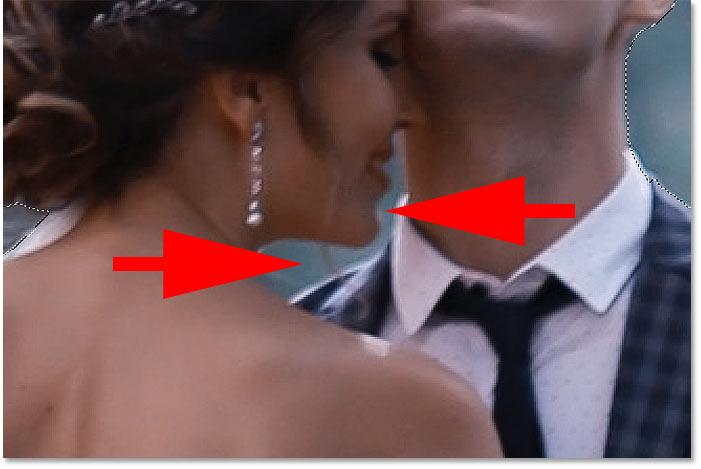
Another area that needs to exist deselected.
Subtracting from the pick
In the Options Bar, I'll set the Mode to Lasso:
Setting the Mode to Lasso.
And so to decrease it, I'll hold Alt (Win) / Option (Mac) and I'll describe a crude outline around the area:
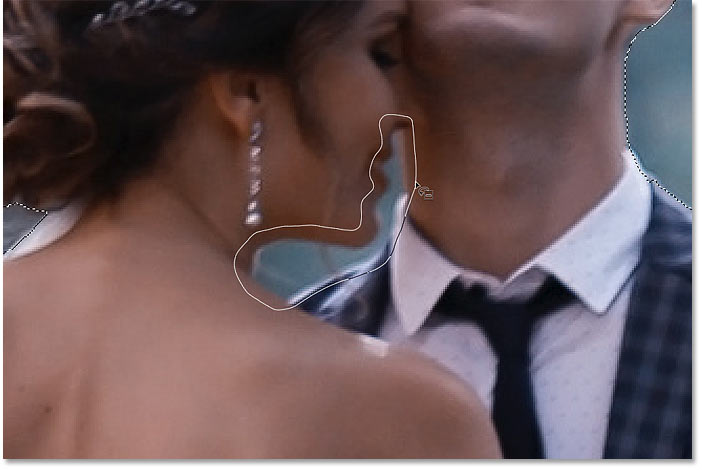
Holding Alt (Win) / Option (Mac) to decrease from the pick.
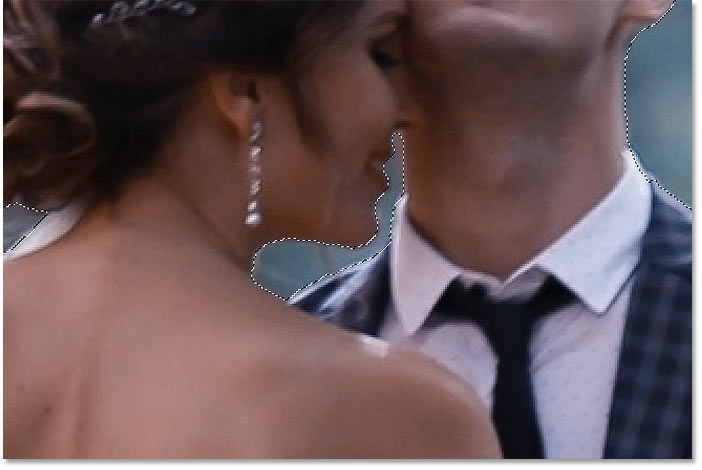
Merely discover that along with subtracting the empty space, Photoshop as well removed some of the human's shoulder and his shirt collar, which means I need to add those areas back:

Photoshop subtracted too much of the area.
Adding dorsum some of the original option
So to add them to the pick, I'll agree my Shift central equally I drag around them:

Holding Shift to add areas to the selection.
And now those areas are once over again selected:
The consequence after adding back part of the original choice.
Finishing up the selection
Go along making your way effectually the object, holding Shift to add to the selection or Alt (Win) / Option (Mac) to subtract from it, until the selection looks good. Here'south my final result with the hymeneals couple selected in forepart of the background:
The concluding selection using the Object Choice Tool.
At this bespeak, you could refine the selection farther using Photoshop'south Select and Mask workspace. But I'grand going to save that for the side by side tutorial where nosotros'll look specifically at using the Object Selection Tool with Select and Mask.
How to convert the deselected area to black and white
Instead, let's look at how to quickly convert the rest of the image to black and white while leaving our subject in color. This function assumes that you accept already selected your bailiwick with the Object Selection Tool, or with whatsoever of Photoshop'southward other choice tools.
Step 1: Invert the selection
At the moment, we have our subject(s) selected and everything else is deselected. To convert the background to black and white, we demand to invert the pick so that everything except our subject field is selected. To capsize the selection, go up to the Select menu in the Menu Bar and choose Changed:
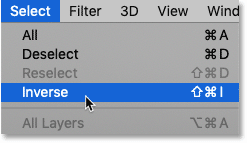
Going to Select > Inverse.
Stride 2: Add a Black & White adjustment layer
To convert the remainder of the image to black and white, we'll utilise a Black & White adjustment layer.
In the Layers panel, click the New Fill or Adjustment Layer icon:
Clicking the "New Make full or Aligning Layer" icon.
And cull Black & White from the list:
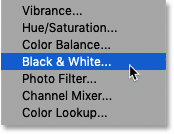
Adding a Black & White adjustment layer.
Photoshop adds the adjustment layer in a higher place the image, and it automatically converts our selection outline into a layer mask:
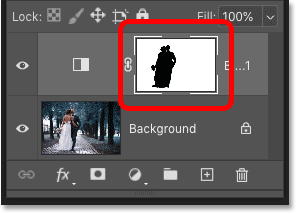
The Layers panel showing the adjustment layer and the layer mask.
And instantly, the surrounding expanse is converted to black and white while our field of study remains in full color:
The area surrounding the bailiwick(s) is now in black and white.
Related: Create an easy Selective Color effect with Photoshop!
Step 3: Elevate the color sliders to fine-tune the black & white conversion
The controls for the Black & White adjustment layer announced in Photoshop's Properties panel. To customize the black and white conversion, elevate the individual color sliders left or right.
Each color slider lightens or darkens dissimilar parts of the image based on their original colour. So the Reds slider affects the brightness of cerise areas, the Yellows slider effects yellows, and and then on. If a slider has no effect on the effulgence of the paradigm, it'due south because no part of the prototype contained that color. I cover black and white conversions in much more detail in my Converting Color Photos to Black and White tutorial:
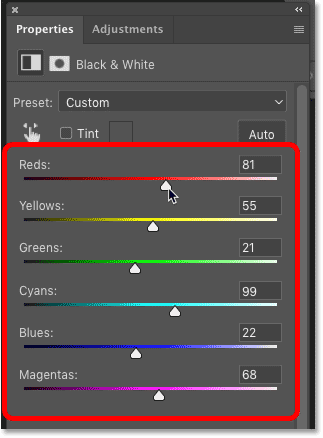
Dragging the color sliders to adjust the blackness and white areas.
Since the background in my image contained lots of cyan, I increased the brightness slightly by dragging the Cyans slider to the correct. And here'due south my final result:
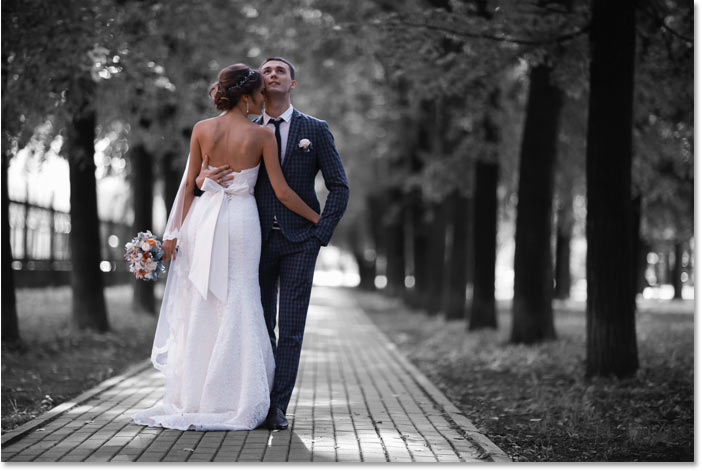
The final result using the Object Selection Tool and a Blackness & White adjustment layer.
And there we have information technology! That's how to rapidly select objects in your photos using the brand new Object Option Tool in Photoshop CC 2020! Check out our Photoshop Basics section for more tutorials. And don't forget, all of our Photoshop tutorials are available to download equally PDFs!
Other Stuff
© 2022 Photoshop Essentials.com.
For inspiration, not duplication.
Site design by Steve Patterson.
Photoshop is a trademark of Adobe Systems Inc.
Source: https://www.photoshopessentials.com/basics/object-selection-tool/
Posted by: millerpearom48.blogspot.com
0 Response to "How Do You Select An Object In Photoshop"
Post a Comment